Etsy Mugs Made-to-Order Production Template
Ship every custom mug order on schedule
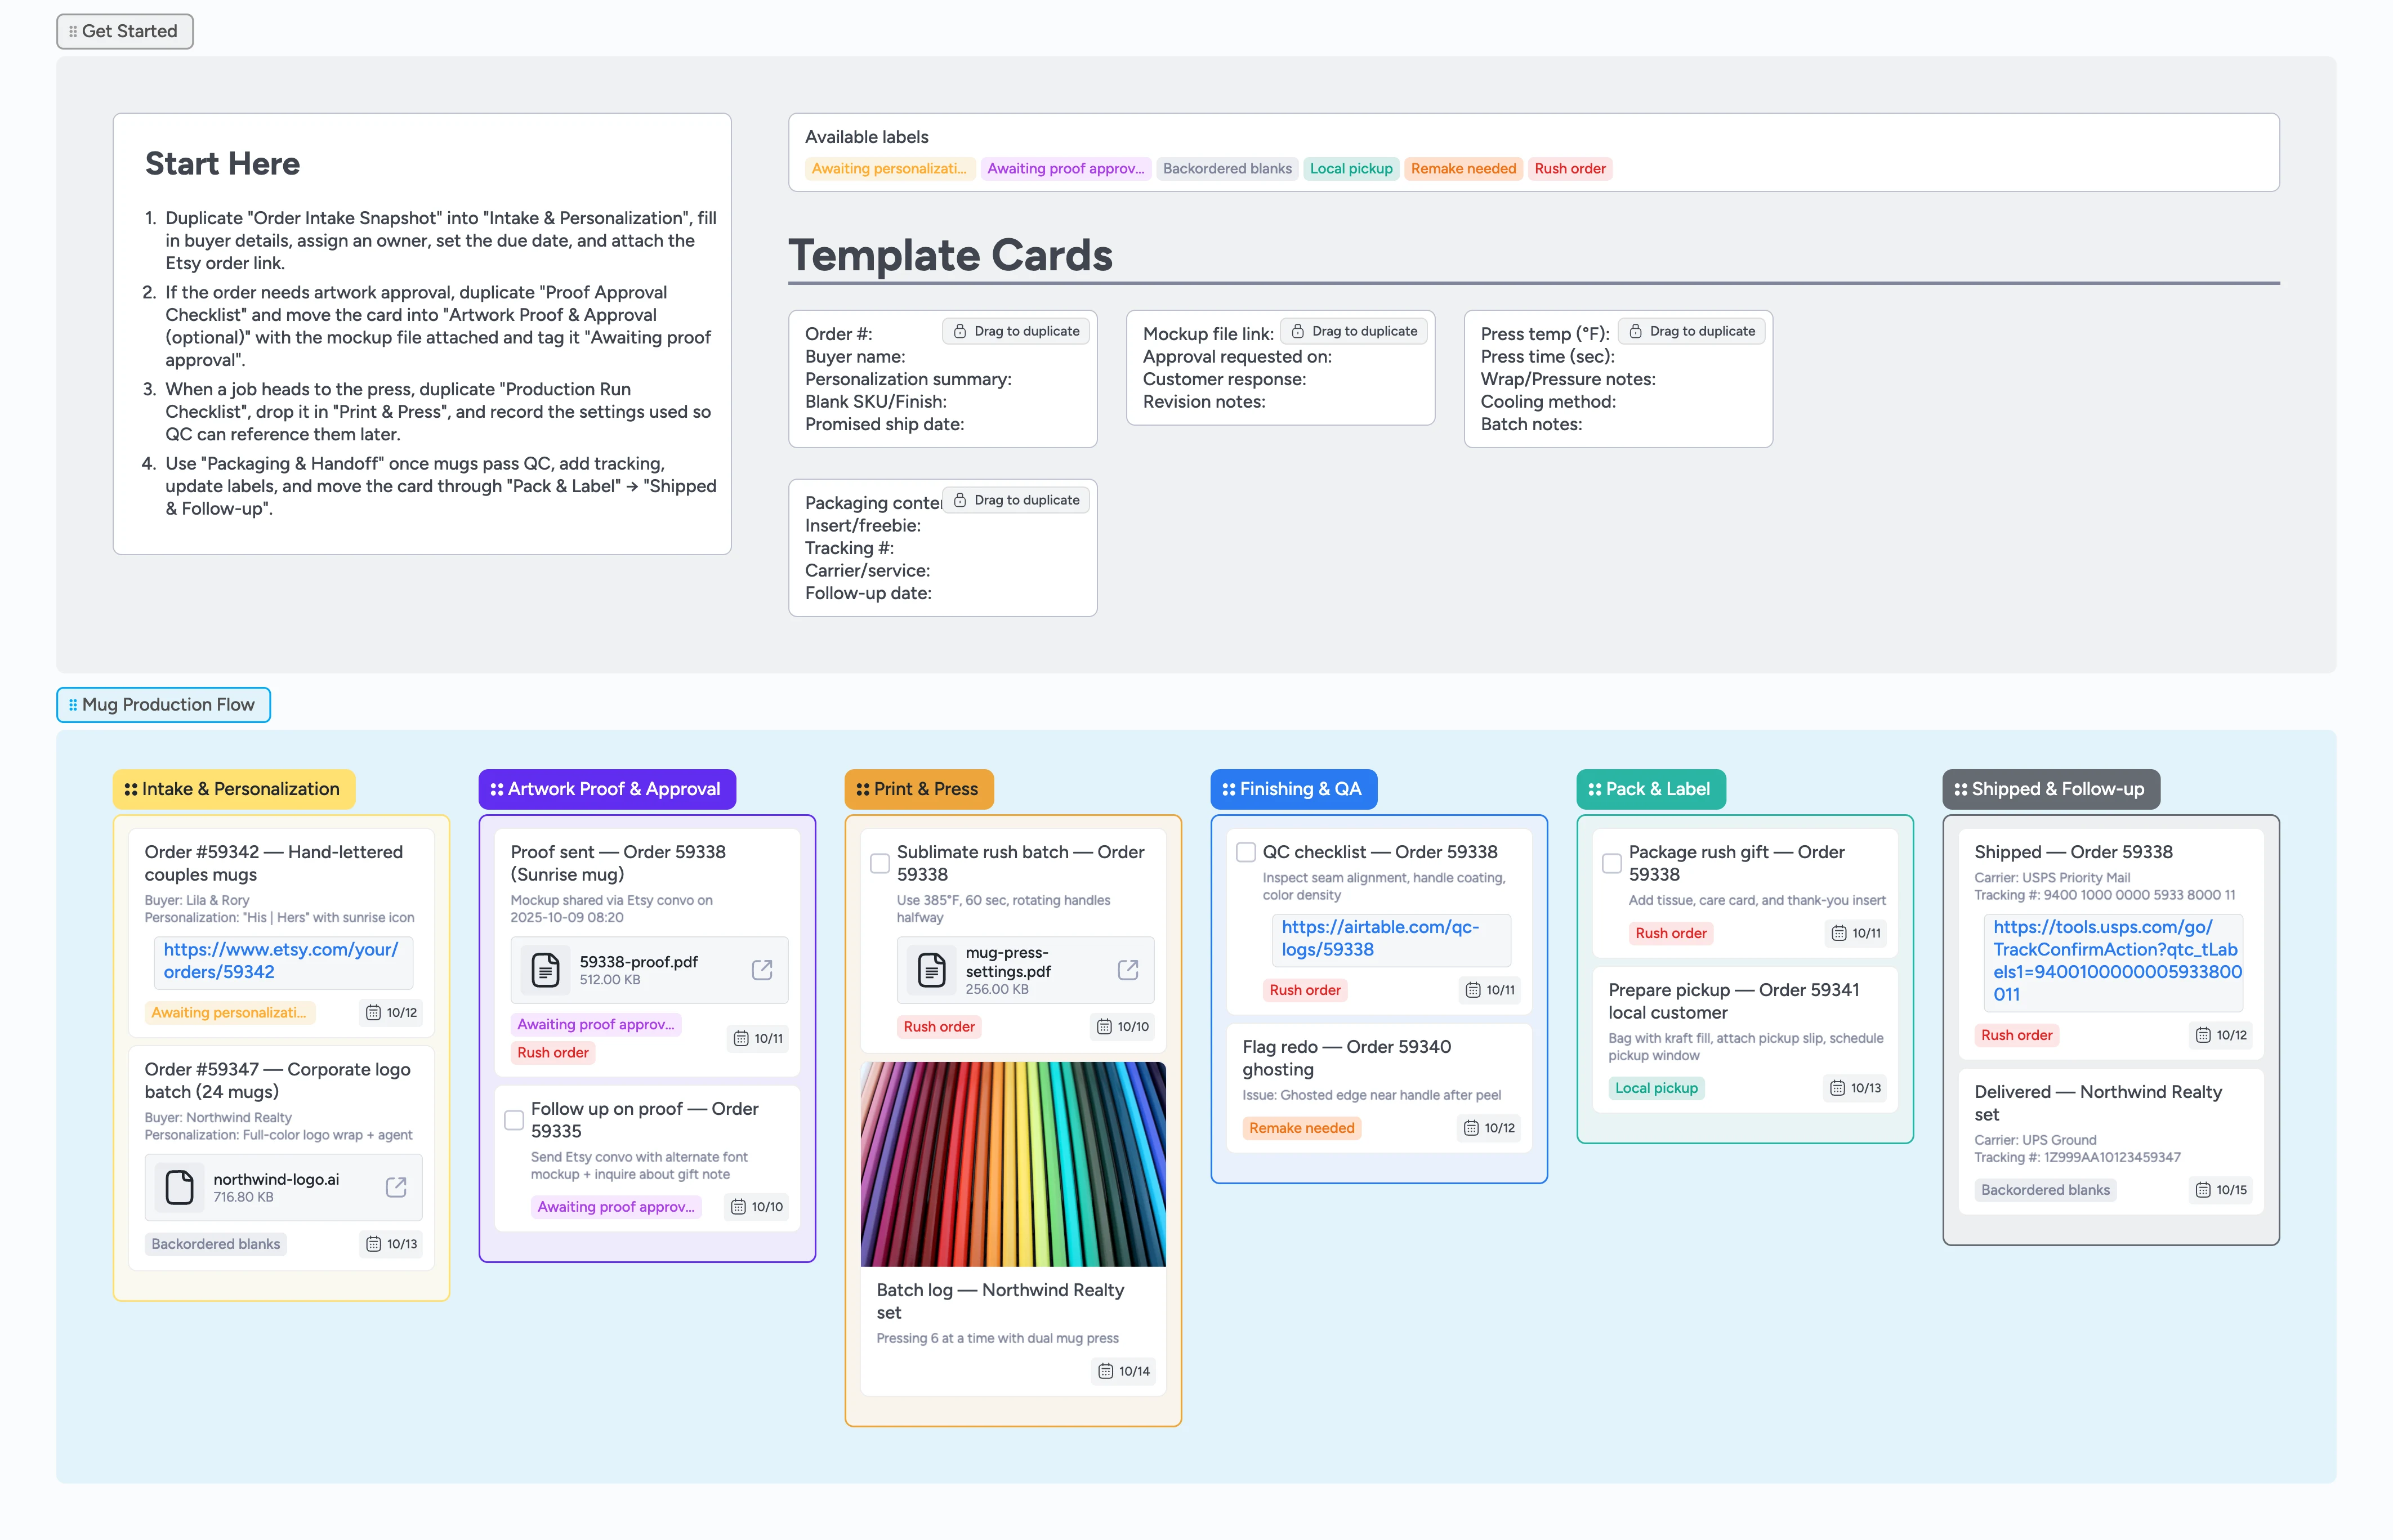
Custom mugs pile up fast when personalization lives in DMs and press notes stay in your head. Instaboard’s duplicate-locked starter cards and inline attachments keep every job inside the canvas so nothing slips. This pipeline lays out every order from intake through proofing, pressing, QC, packing, and follow-up so you always know what needs heat tape next. The optional proof lane keeps approvals moving, while production and QA lists hold batch checklists, labels, and tracking numbers. Use it solo or with a helper to keep your turnaround promise without remakes.
- Eliminate personalization errors with duplicate-locked intake cards
- Keep proofs and rushes on track with labels
- Repeat perfect press settings by logging every run
- Answer status questions fast with tracking on each card
Start in Intake & Personalization
On the board, head to the Intake & Personalization list and duplicate the locked Order Intake Snapshot card. Fill Order #, buyer name, personalization summary, and blank SKU exactly as the customer wrote them. Assign the maker, set the promised ship date, and attach the Etsy order link so you can jump back to messages. Add labels like Rush order or Awaiting personalization info when details are missing. Slide the card to the top of Intake so today’s jobs stay visible.
Pro tip: Keep Intake limited to the next 2–3 production days so rush jobs stand out.
Move proofs through approval
When a design needs sign-off, drag the card into Artwork Proof & Approval (optional) and duplicate the Proof Approval Checklist. Attach the mockup PDF or image so the customer sees the exact layout. Log the date you requested approval, tag the card Awaiting proof approval, and add a due date for your follow-up. If there’s no reply within 24 hours, add a comment or checklist task on the card with the reminder so the follow-up lives on the board. Once approved, clear the tag and move the card into Print & Press.
Pro tip: Use due dates in the proof lane to follow up before ship windows slip.
Press with recorded settings
Before the press warms up, duplicate the Production Run Checklist card and drop it directly beneath the order inside the Print & Press list. Record the press temperature, time, wrap or pressure notes, and cooling method so teammates and future you can repeat the run. Indent multiple mugs from the same batch under a heading to show they share settings. Attach any jig diagrams or press-setting PDFs that matter for this blank. Only move cards forward after the run finishes and notes are saved.
Pro tip: Batch cards with identical settings so you adjust clamps, tape, and wraps only once.
Run QC and prep packaging
In Finishing & QA, inspect seam alignment, handle coating, and color density against the approved proof. If something looks off, tag the card Remake needed, note the issue, and duplicate it back to Intake for a redo. When it passes, drag the card into Pack & Label and duplicate Packaging & Handoff to document inserts, freebies, and care cards. Add tracking and carrier details while you pack so shipments never wait on admin. Use the Local pickup label when customers plan to collect in person.
Pro tip: Snapshot a quick photo of fragile or high-value orders and attach it before sealing the box.
Ship, track, and follow up
After the carrier scans the label, move the card into Shipped & Follow-up. Paste the tracking link or attach the scan so support can answer status questions in seconds. Set a follow-up date on the card and draft your review request or reorder incentive in the description so it’s ready to send. Archive shipped cards every week so the board stays lean and focused on active work. If a customer raises an issue, keep the card in Shipped & Follow-up with notes until it’s resolved.
Pro tip: Set a recurring reminder to clear Shipped each Friday and send thank-you messages.
What’s inside
Pipeline overview
Left-to-right lists—Intake & Personalization captures details before the press heats, Proof (optional) tracks approvals, Print & Press logs runs, Finishing & QA confirms quality, Pack & Label adds tracking, and Shipped & Follow-up closes the loop.
Order starter cards
Duplicate-locked Instaboard cards with fields for order number, personalization summary, blank SKU, promised ship date, and attachments.
Proof workflow
Checklist cards that track mockup delivery, approval status, due dates, and reminders without leaving Instaboard.
Production run checklist
Template card to log press temperature, dwell time, wrap pressure, cooling method, and batch notes so settings stay reusable.
Routing labels
Labels that prioritize rush jobs, flag missing personalization, spotlight proof approvals, track backordered blanks, note local pickups, and call out remakes.
Why this works
- Standardizes intake so personalization errors disappear
- Keeps approval status visible with dedicated labels
- Captures press settings for repeatable sublimation runs
- Connects QC, packaging, and follow-up in one flow
FAQ
What if a customer skips the proof step?
Leave Artwork Proof & Approval empty for that order—move the card from Intake straight into Print & Press and delete the checklist if you never use proofs.
Can I track wholesale or large batches?
Yes. Indent related orders under a heading card, tag them Backordered blanks or Rush order, and fill one Production Run Checklist with the shared press settings.
How do I handle local pickups?
Apply the Local pickup label, note the pickup window in Pack & Label, and keep the card there until the customer signs off on the hand-off.
Does this template store my press settings?
Each Production Run Checklist keeps the temp, time, and wrap notes on the card so you can duplicate it for future batches without leaving Instaboard.