Etsy Wood Signs Production Pipeline Template
Keep Every Custom Wood Sign Job Moving
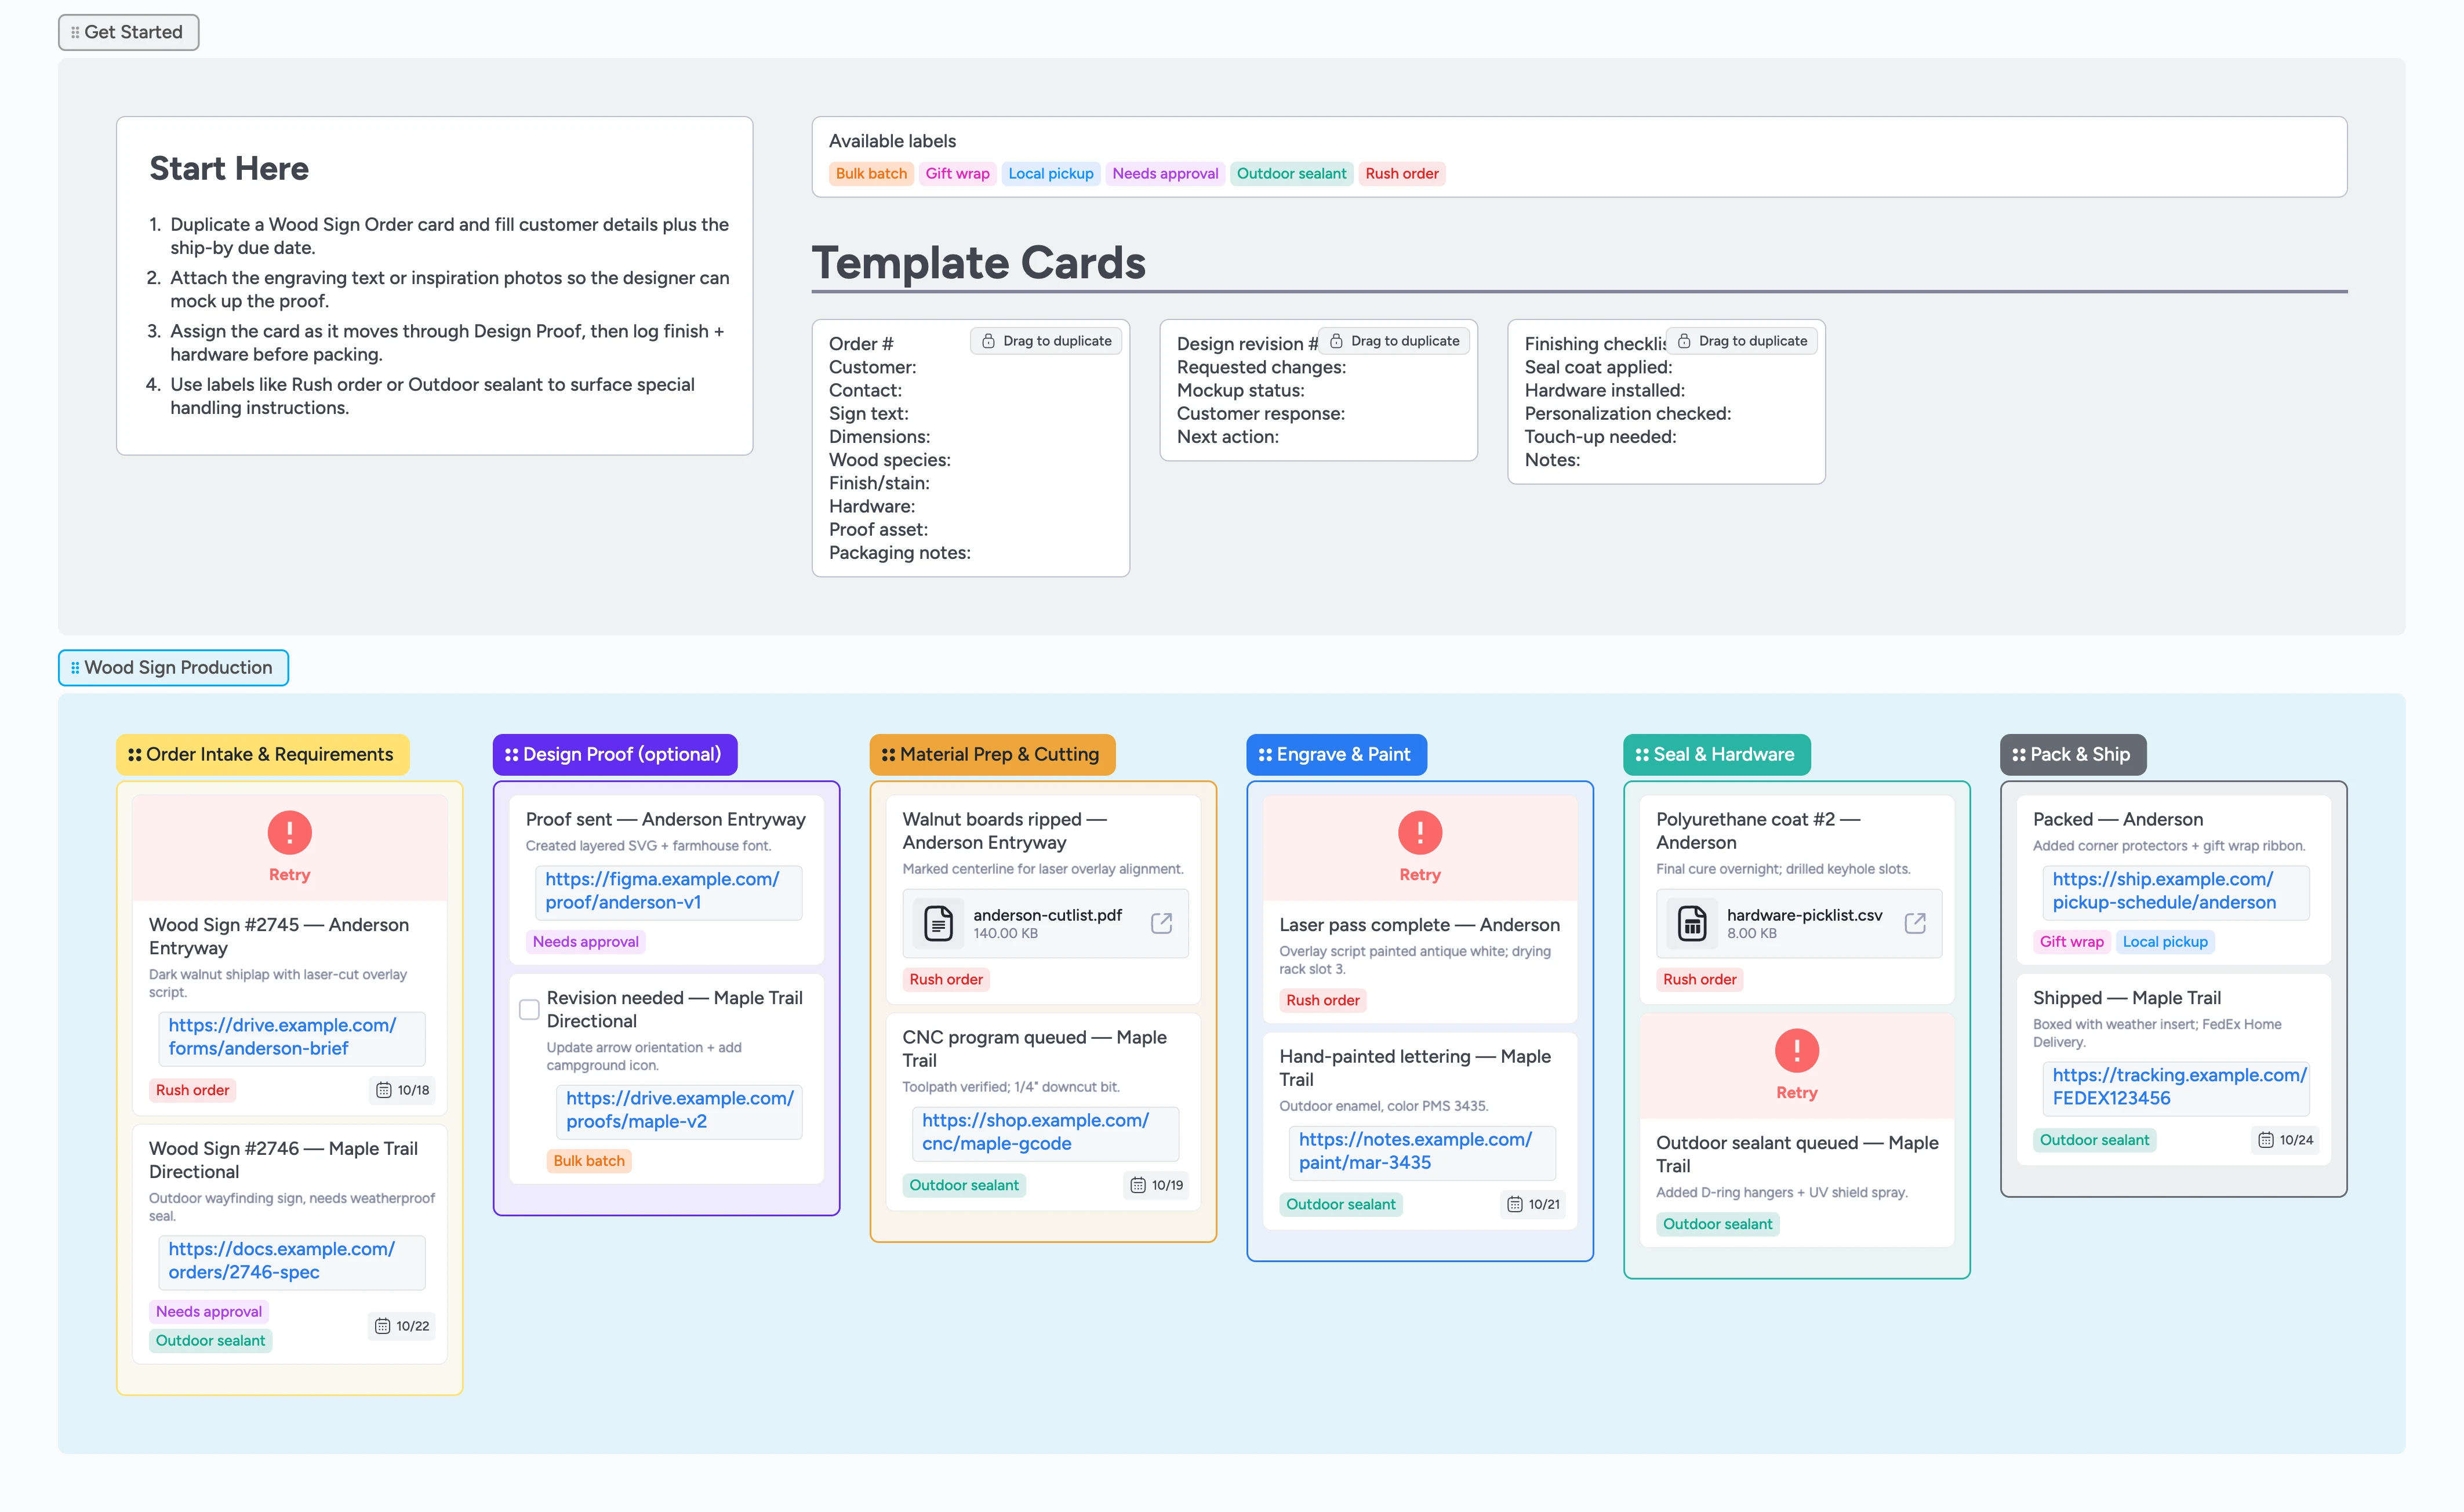
Juggling Etsy messages, spreadsheet notes, and "did we seal that one?" questions slows every custom sign. On this Instaboard, duplicate the Wood Sign Order card as soon as a request arrives, assign the maker, and keep attachments, labels, and handoffs in one place. The board walks orders through proofing, cutting, engraving, finishing, and shipping so nothing stalls. Built-in checklists, attachment spots, and labels for rush jobs or outdoor sealing make it easy to spot what needs attention before the next batch heads out the door.
- Track every custom order on one card from customer message to CNC file without digging through email
- Share proofs and finish decisions without losing context
- Surface rush or outdoor jobs with quick labels
- Hand off production using template cards and assignments
Kick off each sign in Get Started
Open the Get Started section, duplicate the Wood Sign Order card, and fill in customer details, wood species, finish choice, and packaging notes. Set the card's due date for the promised ship-by date and assign the maker responsible for intake. Attach any reference photos or text engraving files so design never has to chase email threads. Apply labels like Rush order or Outdoor sealant if the brief calls for expedited timelines or weatherproofing.
Pro tip: Need to capture a revision trail? Duplicate the Design revision card in the same section right away.
Move into proofing and log feedback
Drag the card into Design Proof once the first mockup is ready and @mention your designer to share the update. Open the Design revision card, jot the requested change on the Next action line, and add a comment so the approval trail is timestamped. Attach the Figma or PDF proof directly to the order card so anyone @mentioned can review and comment inline. If a client approves as-is, clear the Needs approval label so production knows it is safe to start cutting.
Capture production progress by stage
Slide the order into Material Prep & Cutting when the cut list is queued, then to Engrave & Paint as laser passes or hand-paint sessions finish. Open the card, add a comment about toolpaths, paint colors, or drying rack slots so teammates see shop-floor status without a walk-through. Drop photos or CNC files on the card to keep every technical detail attached to the work.
Close the loop before shipment
Move the card into Seal & Hardware, duplicate the Finishing checklist micro-template, and tick through each quality step as you confirm sealant cures and hardware installs. Note any touch-ups or hardware substitutions directly on the card and keep the assignee updated. Finally, drag the order to Pack & Ship, add tracking links or pickup details as attachments, and let the team know the package is ready to go or awaiting pickup.
What’s inside
Start-here guidance
A primer card plus template cards show how to capture order specs, design revisions, and finishing checks.
Six-stage production flow
Move cards through Intake, Design Proof, Material Prep & Cutting, Engrave & Paint, Seal & Hardware, and Pack & Ship with colors that signal handoffs and approvals.
Micro-templates
Drag-ready cards capture customer notes, revision rounds, and sealant checklists without retyping.
Demo orders
Sample Anderson and Maple Trail jobs highlight due dates, attachments, and label usage you can mirror.
Label primer
Rush order, Outdoor sealant, and Gift wrap tags keep special handling obvious in every stage.
Why this works
- Keeps design, production, and shipping aligned on one card
- Makes client-proof approvals obvious before cutting begins
- Highlights weatherproof or rush jobs with reusable labels
- Logs finishing steps so nothing ships without hardware installed
- Pairs every order with its files and photos for quick reference
FAQ
How do I track multiple signs in the same batch?
Duplicate the Wood Sign Order card for each design variation and apply the Bulk batch label so you can filter and move them together.
Where should I store proof approvals?
Keep approvals on the main order card—attach signed PDFs or export screenshots, then add a comment inside the Design revision card noting who approved and when.
Can I reuse this for other wooden products?
Yes. Update the micro-template fields for the details you need—like hardware or finish options—and the pipeline stages will still cover the process end to end.
Do labels sync to Etsy or ShipStation?
Labels stay inside Instaboard; think of them as visual flags. Paste the Etsy order ID in the card title or attach the ShipStation CSV so you can cross-reference without leaving the board.