Etsy Made‑to‑Order Production Template
Turn Etsy orders into a calm queue
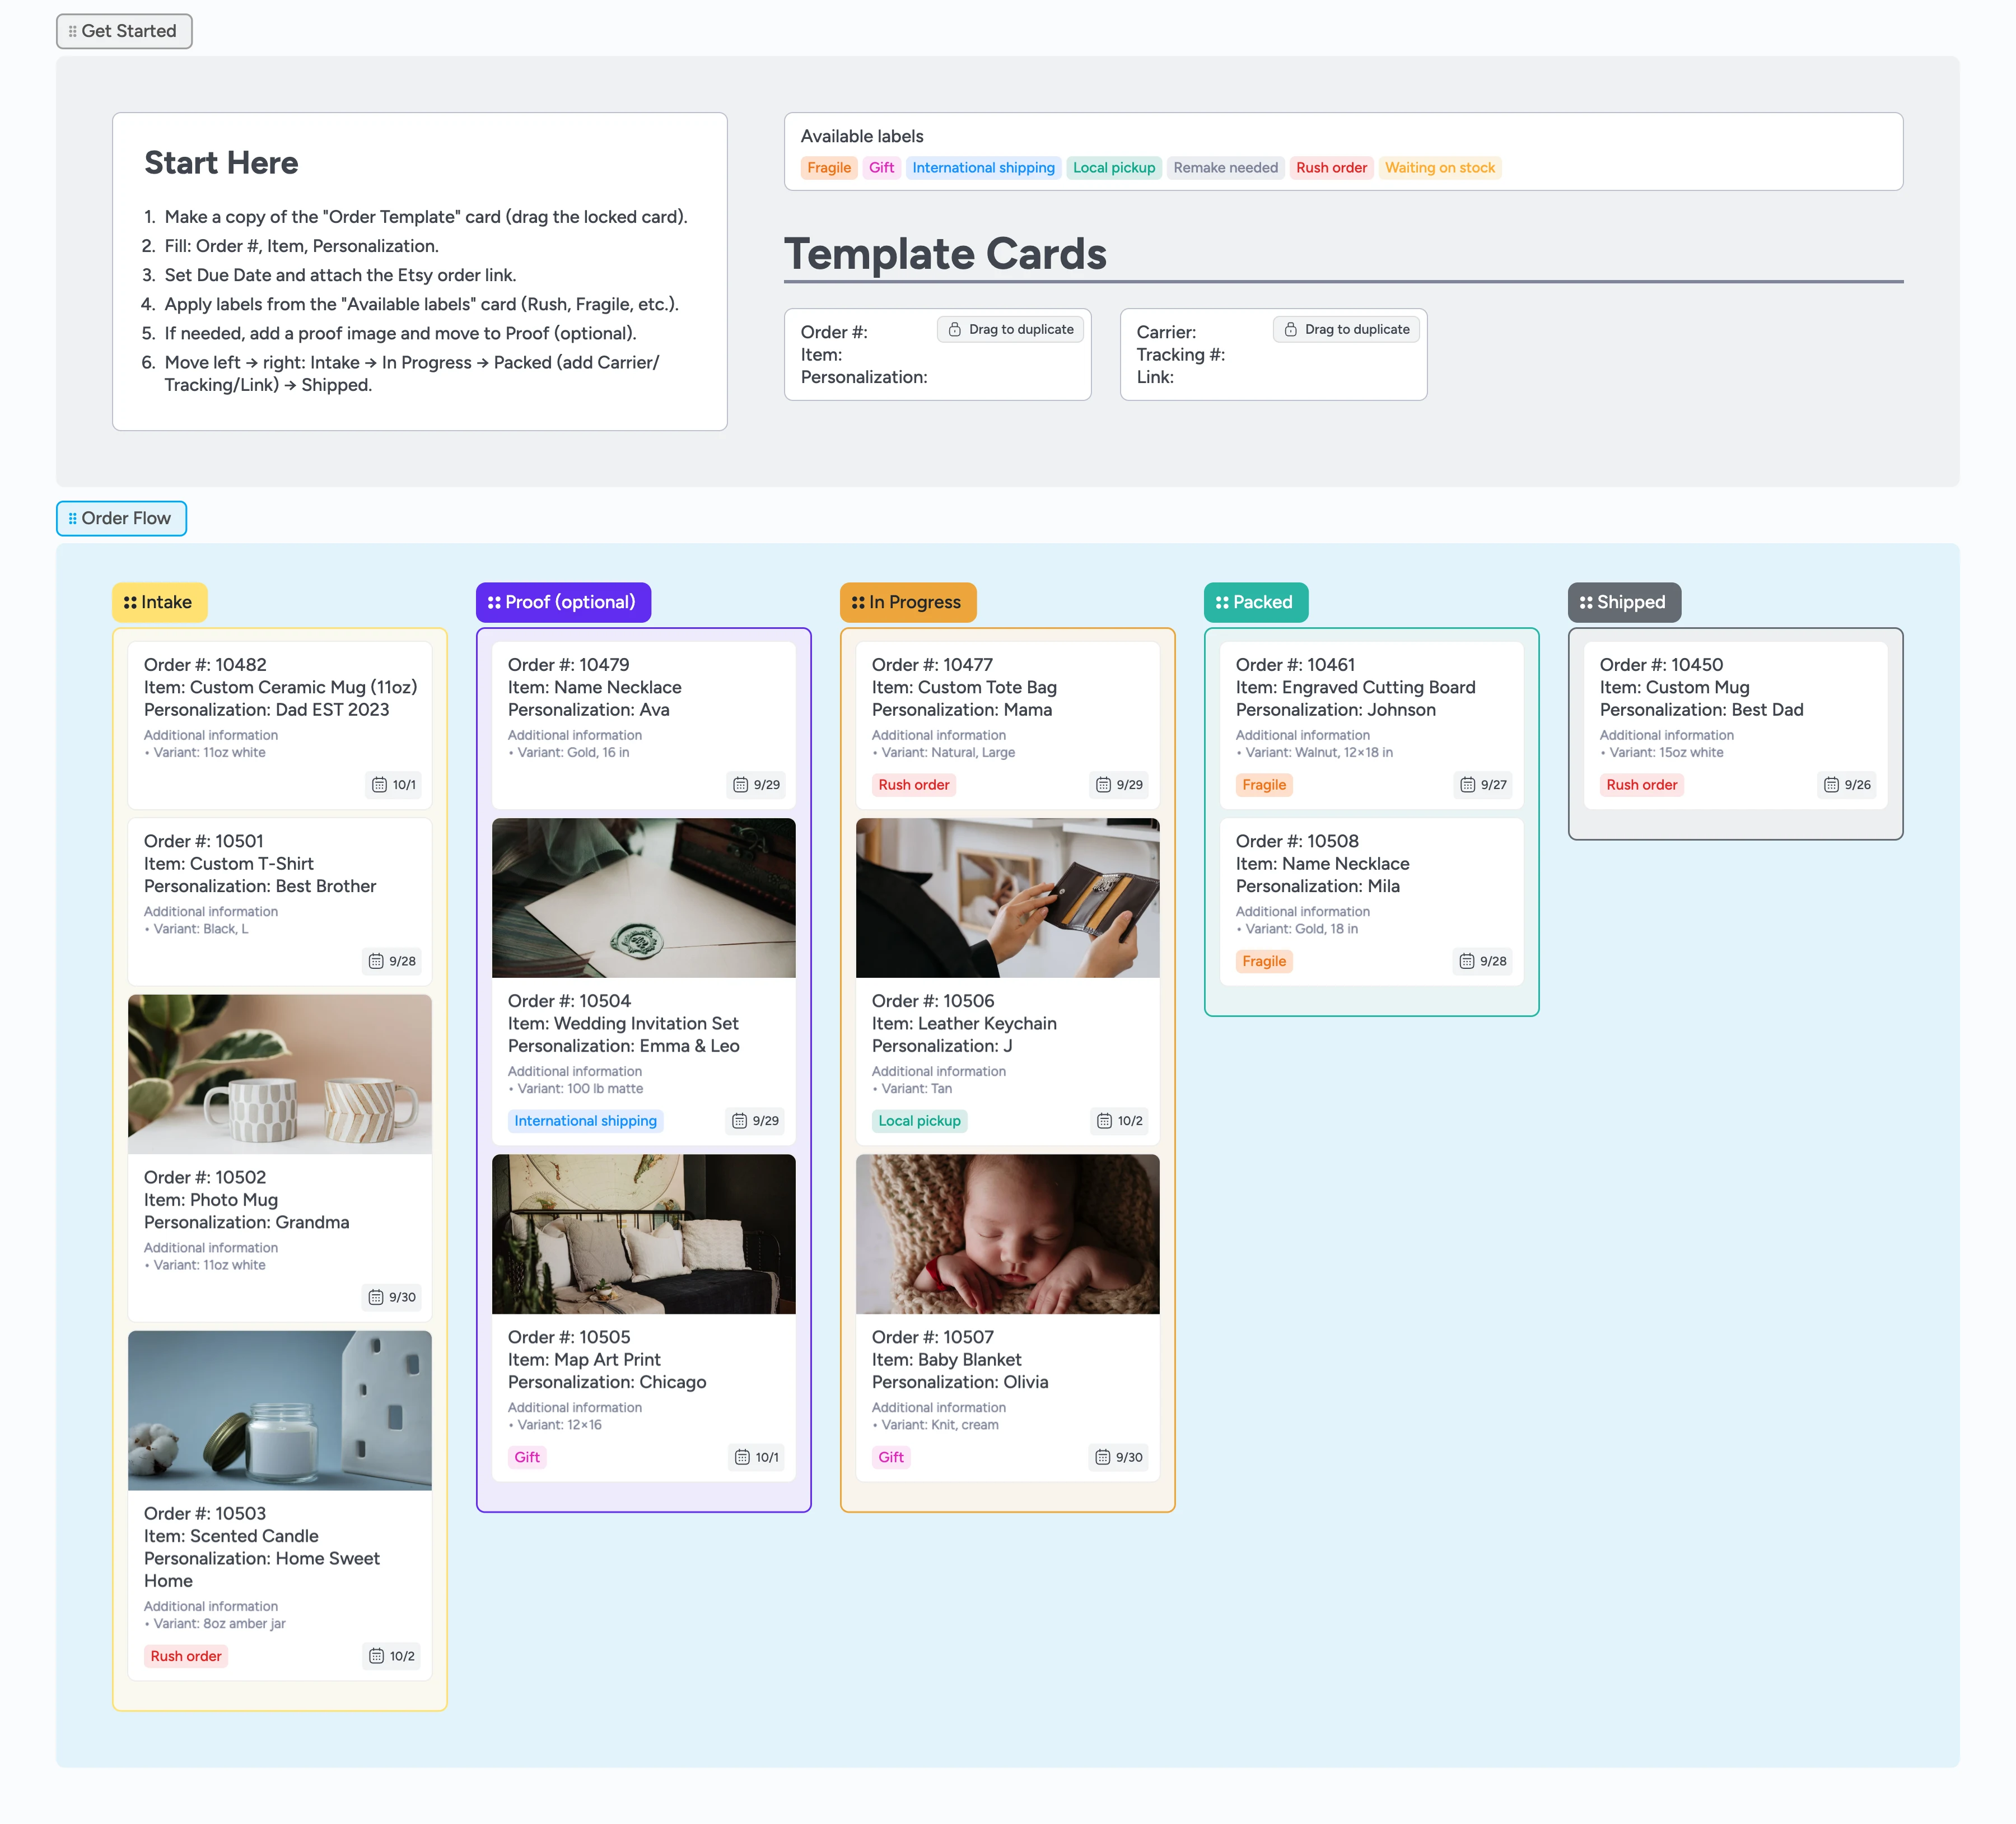
This template gives small Etsy shops a clear structure for organizing every order from intake to shipped — capture personalization, approve proofs when needed, batch smart, and add tracking — all in one place. Whether you're a solo maker or a tiny team, this board helps you make informed decisions and ship on time. Before → After: scattered DMs and ad‑hoc lists become a left‑to‑right, on‑grid pipeline that uses Instaboard’s duplicate‑locked order card, labels primer, and canvas+lists view to standardize details and cap WIP.
- Organize visually
- Work together live
- Export to PDF
- Share tracking links
Tune your template card
Your template card is duplicate-locked—edit it once, duplicate it forever. Double-click the starter card and rename fields to match your shop: change Personalization to Engraving text, add Variant or Options, reorder lines so critical info sits at the top. Always include an 'Etsy order link:' field so you paste the URL in the same spot every time. If you advertise ship windows, add 'Due by:' now. Done when: your template card shows every field you need, in the order you scan them, with no generic placeholders.
Pro tip: If you promise ship windows, add a ‘Due by’ line now. Keep an ‘Etsy order link:’ line so you paste it in the same place every time.
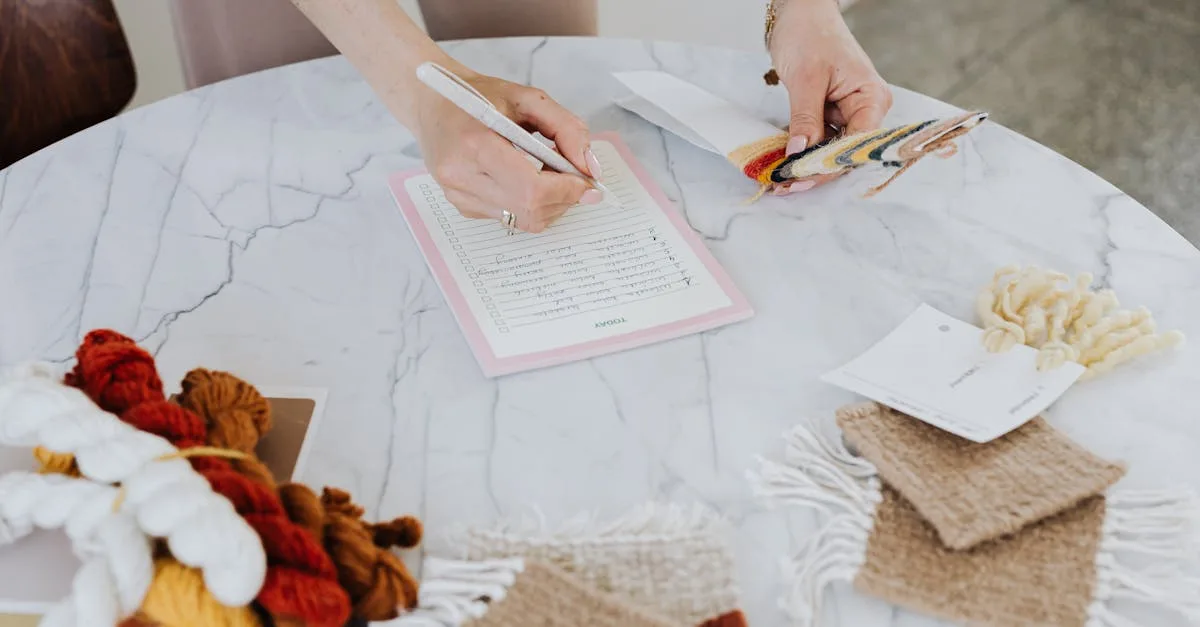
Add orders (Intake)

For each sale, drag the template card to duplicate it. Fill Order #, Item, and Personalization with exact customer text—copy-paste names, dates, or special characters to avoid typos. Paste the Etsy order URL into 'Etsy order link:' so you can jump to receipts instantly. Set a due date if you advertise turnaround. Keep Intake short—today's work plus 2–3 days—so you see what's urgent. Done when: each order is a filled card with Order #, exact personalization, Etsy link, and due date if applicable.
Pro tip: When personalization is tricky (names, dates, foreign characters), paste the exact approved text. If it’s uncertain, add ‘TBD’.
Get approval (optional)

Attach the proof mockup to the card, move it to Proof, and add two lines: 'Proof sent: YYYY-MM-DD' and 'Approved: YYYY-MM-DD by [Name]'. When approved, move to In Progress. Set a 3-day soft timer—if no reply, nudge once, then move the card back to Intake and add a 'Waiting on customer' label. If you skip proofs, delete this list and move Intake cards straight to In Progress. Done when: every proof has a sent date, approved date with name, or a clear 'Waiting' label.
Pro tip: Set a soft timer for approvals. If a card sits in Proof too long, nudge once, then move it back to Intake with ‘Waiting on customer’.
Make in small batches
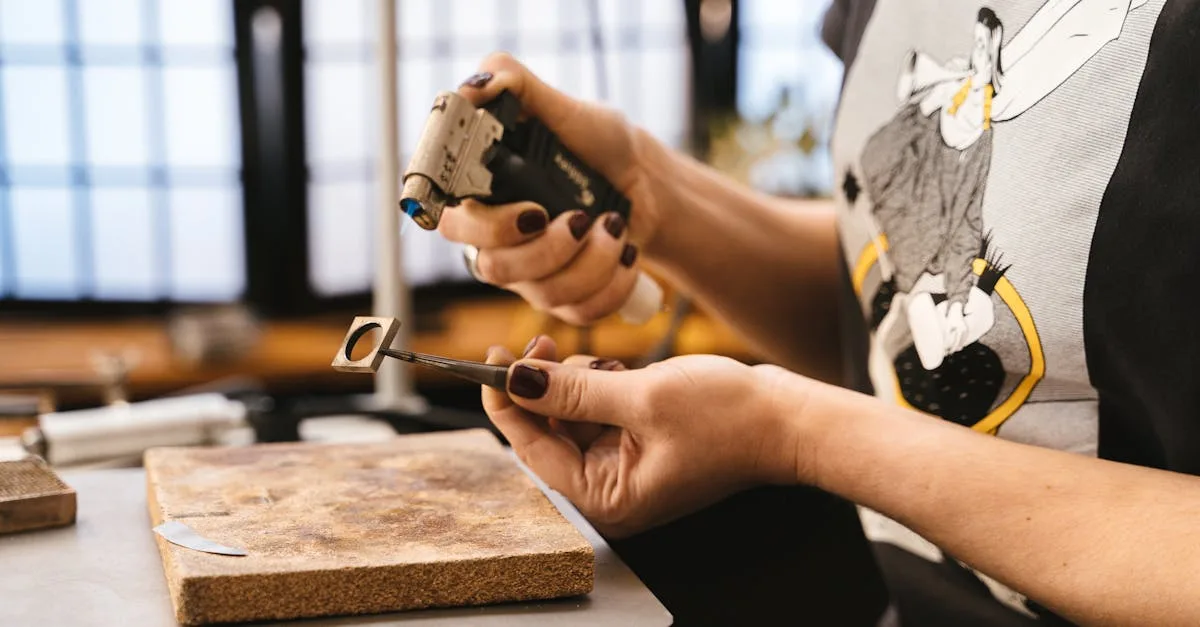
Cap In Progress at 5 cards. Only batch items that share settings and materials—use tags or indent cards to group them visually. Before you start, add a one-line 'Make check:' to each card: materials ready → settings correct → test piece OK → qty complete. Run your pre-check every time to catch mistakes before you waste stock. When a batch finishes, multi-select all its cards and drag them to Packed together. Done when: In Progress never exceeds 5 cards, batches are tagged/indented, and every card has a make-check line.
Pro tip: If you forget small extras (ribbons, inserts), add a one‑line ‘Make check’ to your card: materials → settings → first piece OK → quantity complete.
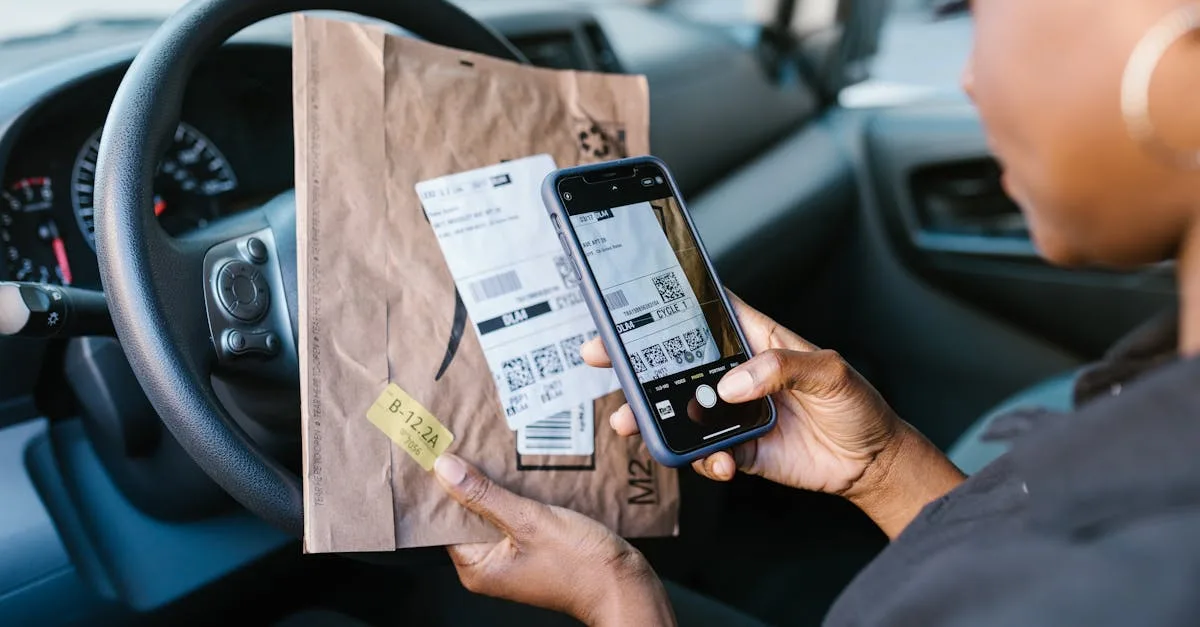
Pack & label
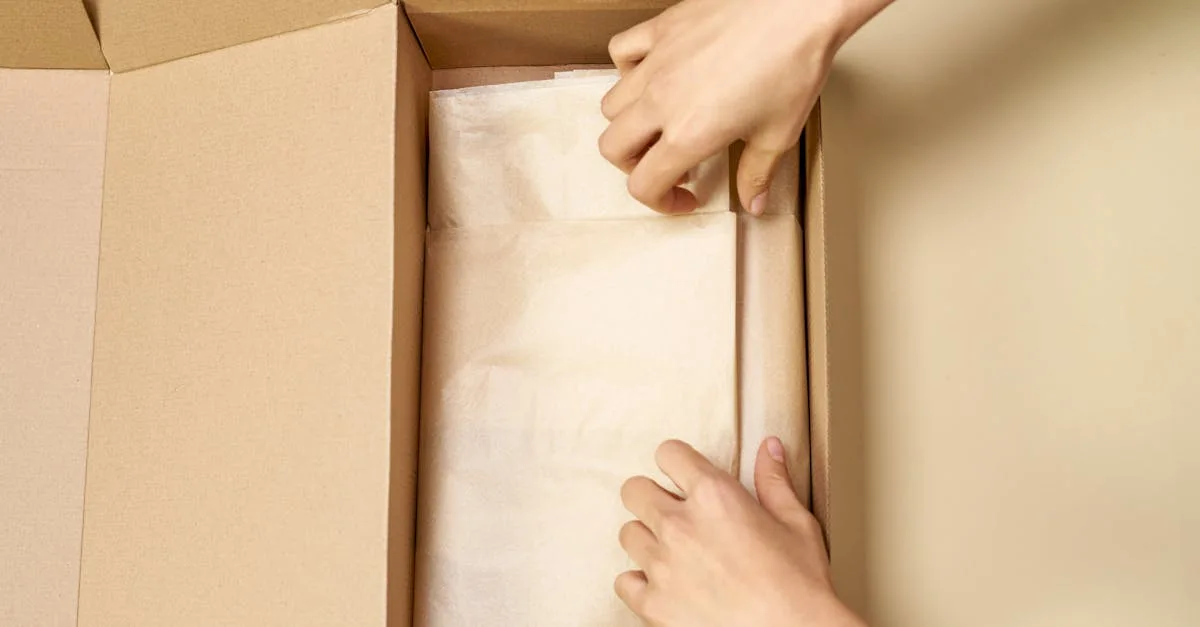
Before you seal the box, open the card and read personalization, options, and extras aloud against the item. Add 'Carrier: [name]' and 'Tracking: [number]' to the card—never move to Packed without tracking. For fragile or high-value orders, attach a photo of the packed item. Then drag to Packed. Done when: card shows carrier + tracking, personalization matches item exactly, extras are confirmed, and a photo is attached if the order is fragile or valuable.
Pro tip: Snap a quick photo of the packed item and attach it for fragile or high‑value orders.
Ship and follow up
Once the carrier scans the label, move the card to Shipped and share tracking. Archive Shipped cards weekly to keep the board lean. If a re-make is needed, add a 'Re-make' label to the original card, duplicate it, and move the copy to Intake. Set a daily ritual: clear Packed by noon, move scanned orders to Shipped by end of day, and never let In Progress exceed 5 cards. Done when: only scanned orders sit in Shipped, old cards are archived weekly, and your daily ritual runs without thinking.
Pro tip: A tiny daily ritual keeps you sane — clear “Packed” by noon, “Shipped” by end of day, and never let “In Progress” exceed five cards.
What’s inside
Order flow
Track each order from Intake → Proof (optional) → In Progress → Packed → Shipped.
Order starter
Start a new order with a ready‑to‑fill starter: order number, item, personalization, due date, a link to the Etsy order, and tracking when you ship.
Helpful labels
Use labels like Rush, Fragile, Gift, Local pickup, International shipping, or Waiting on stock to call out what matters.
Start here
A short guide to add your first order.
Why this works
- Reduces mistakes by templating order fields and proof steps
- Caps WIP and batches similar work to increase throughput
- Keeps tracking links on the card for faster customer updates
- Makes daily rituals obvious so the queue never piles up
FAQ
Does this replace Etsy order management?
No. Keep Etsy for sales and messages. Use Instaboard to run production with due dates, batching, and checks.
Do I need an account?
You can start editing instantly in your browser. Create a free account to save your copy and invite collaborators.
Can I export to PDF?
Yes — export the board to PDF or image for printing or hand‑off.